Customer Reviews
First screen install, went well, modified an older green yellow gbc. Install was easy enough, I soldered as i didnt trust the added metallic tape. I dont solder at all but it was easy enough. Screen looks great! Didnt need to install the provided touch sensor as the screen came with one in built.
relatively easy to install and works great. brough my old mate back to life.
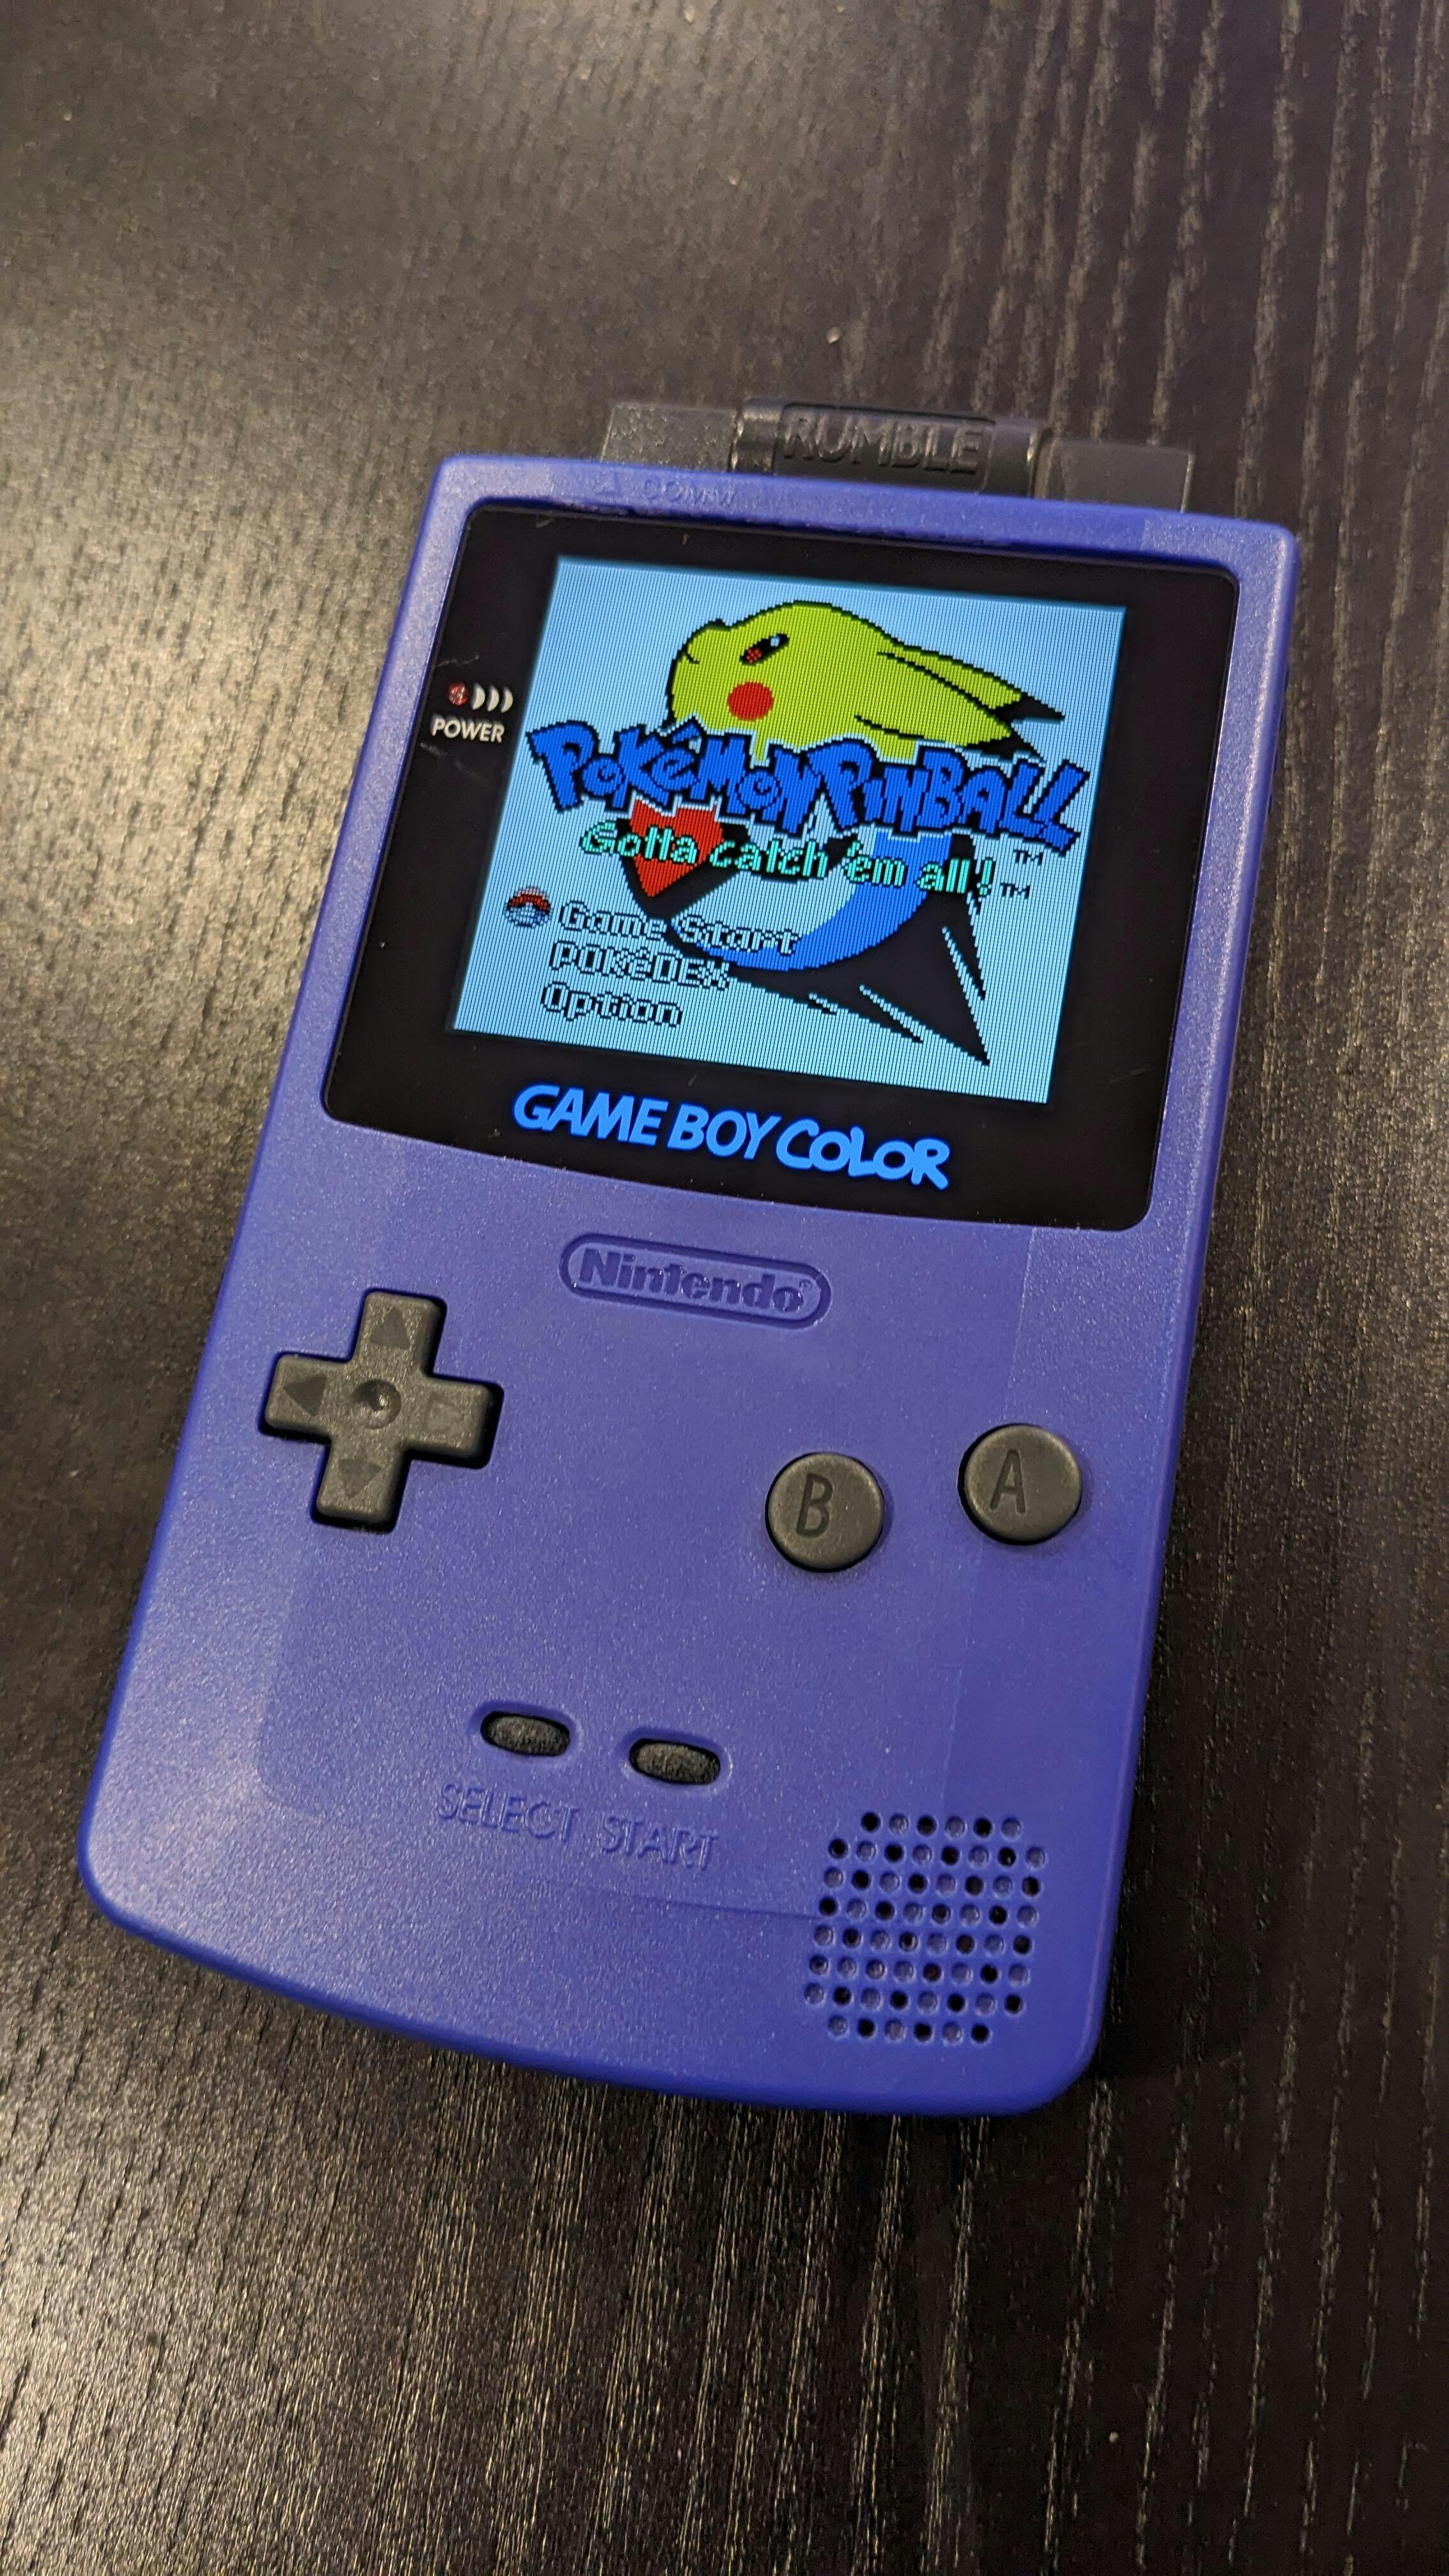
I am SUPER happy with how the 2.7 IPS screen mod turned out. The install is super easy from start to finish, although you do need to either buy one of their pre-cut shells or have the tools to cut away a third party or original shell yourself. I'm impressed with how easily the touch sensor works through the plastic of the shell. An unexpected bonus was the fact I could change the colour (32 bits RGB colour, completely customisable) of the Gameboy Color lettering at the bottom of the bezel. My only feedback would be for RGP to provide more shells in more colours - I would have loved to be able to buy a purple-grape coloured shell as that was the colour I had when I was a kid. Also to include a bit of paper with a link/QR code to the tiktok where the install videos/guides are. But honestly I'm over the moon with how it turned out. Thanks RGP for providing such an awesome mod!
Great screen, works perfectly and is very plug and play, that said, spend the extra cash and get the replacement shell that fits the screen! Was a hell of a lot of careful work to cut the original shell and in future I won't be doing it again.
No complaints with the screen however, brilliant kit and very affordable
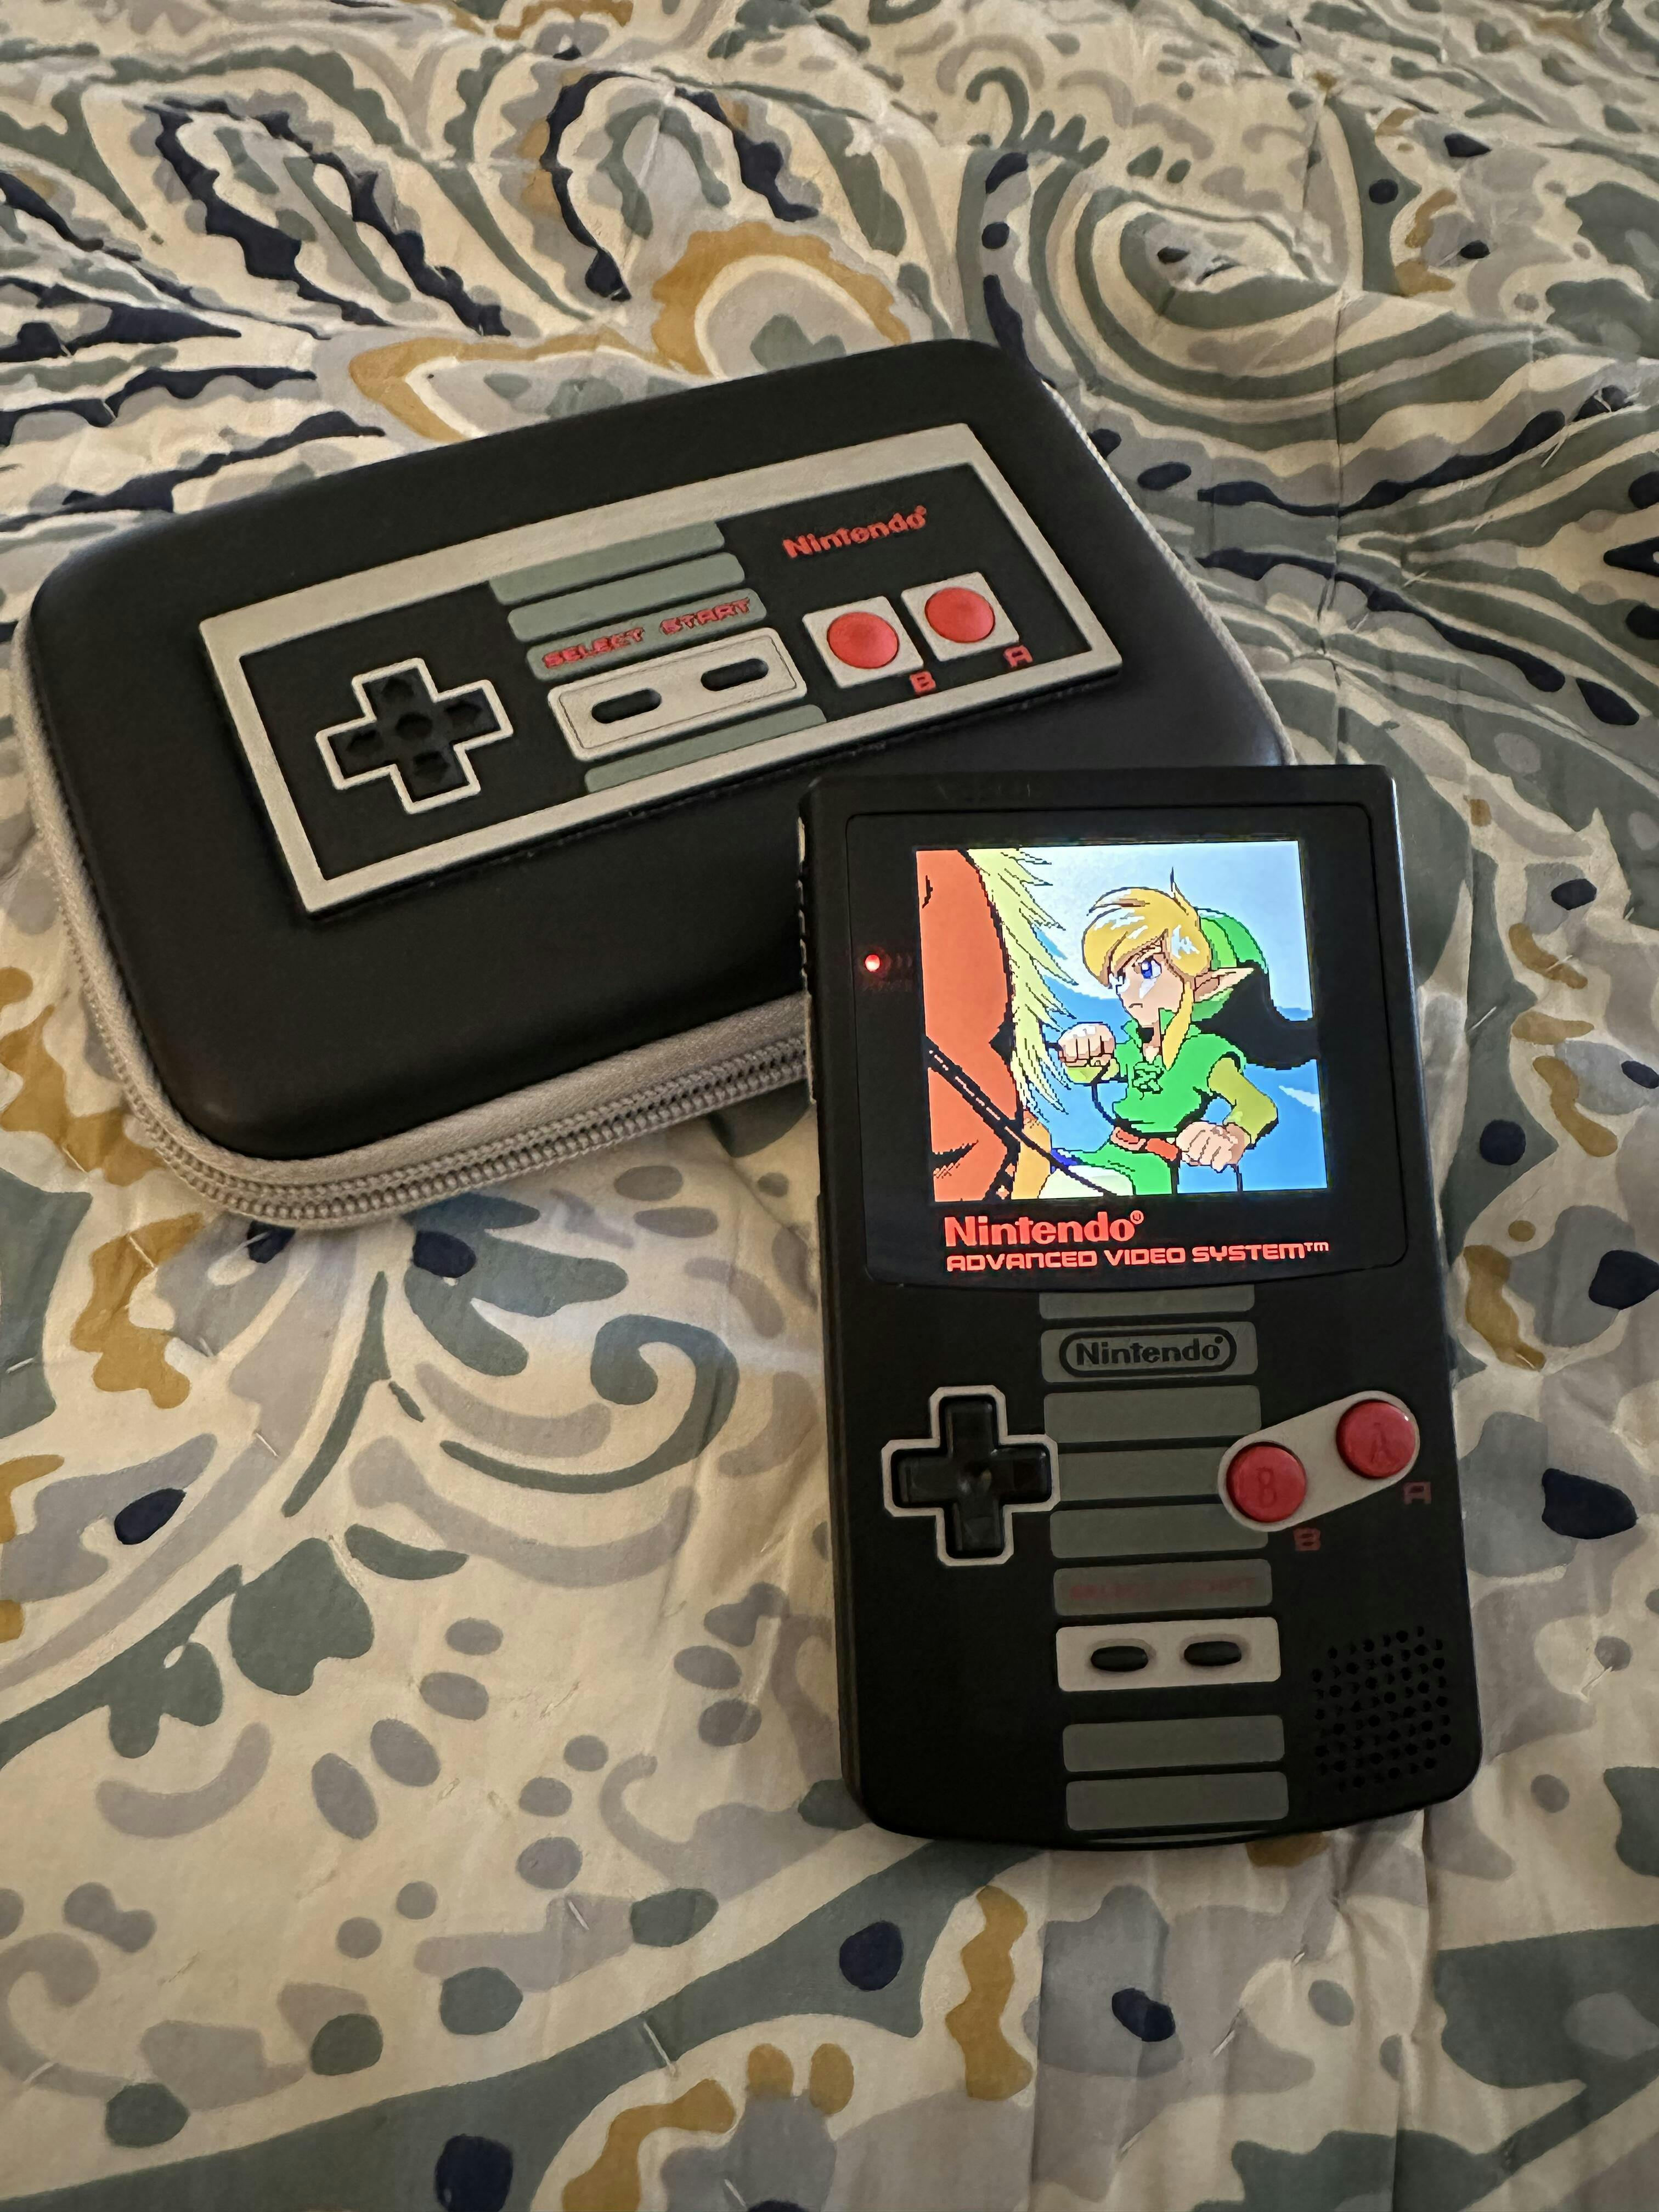
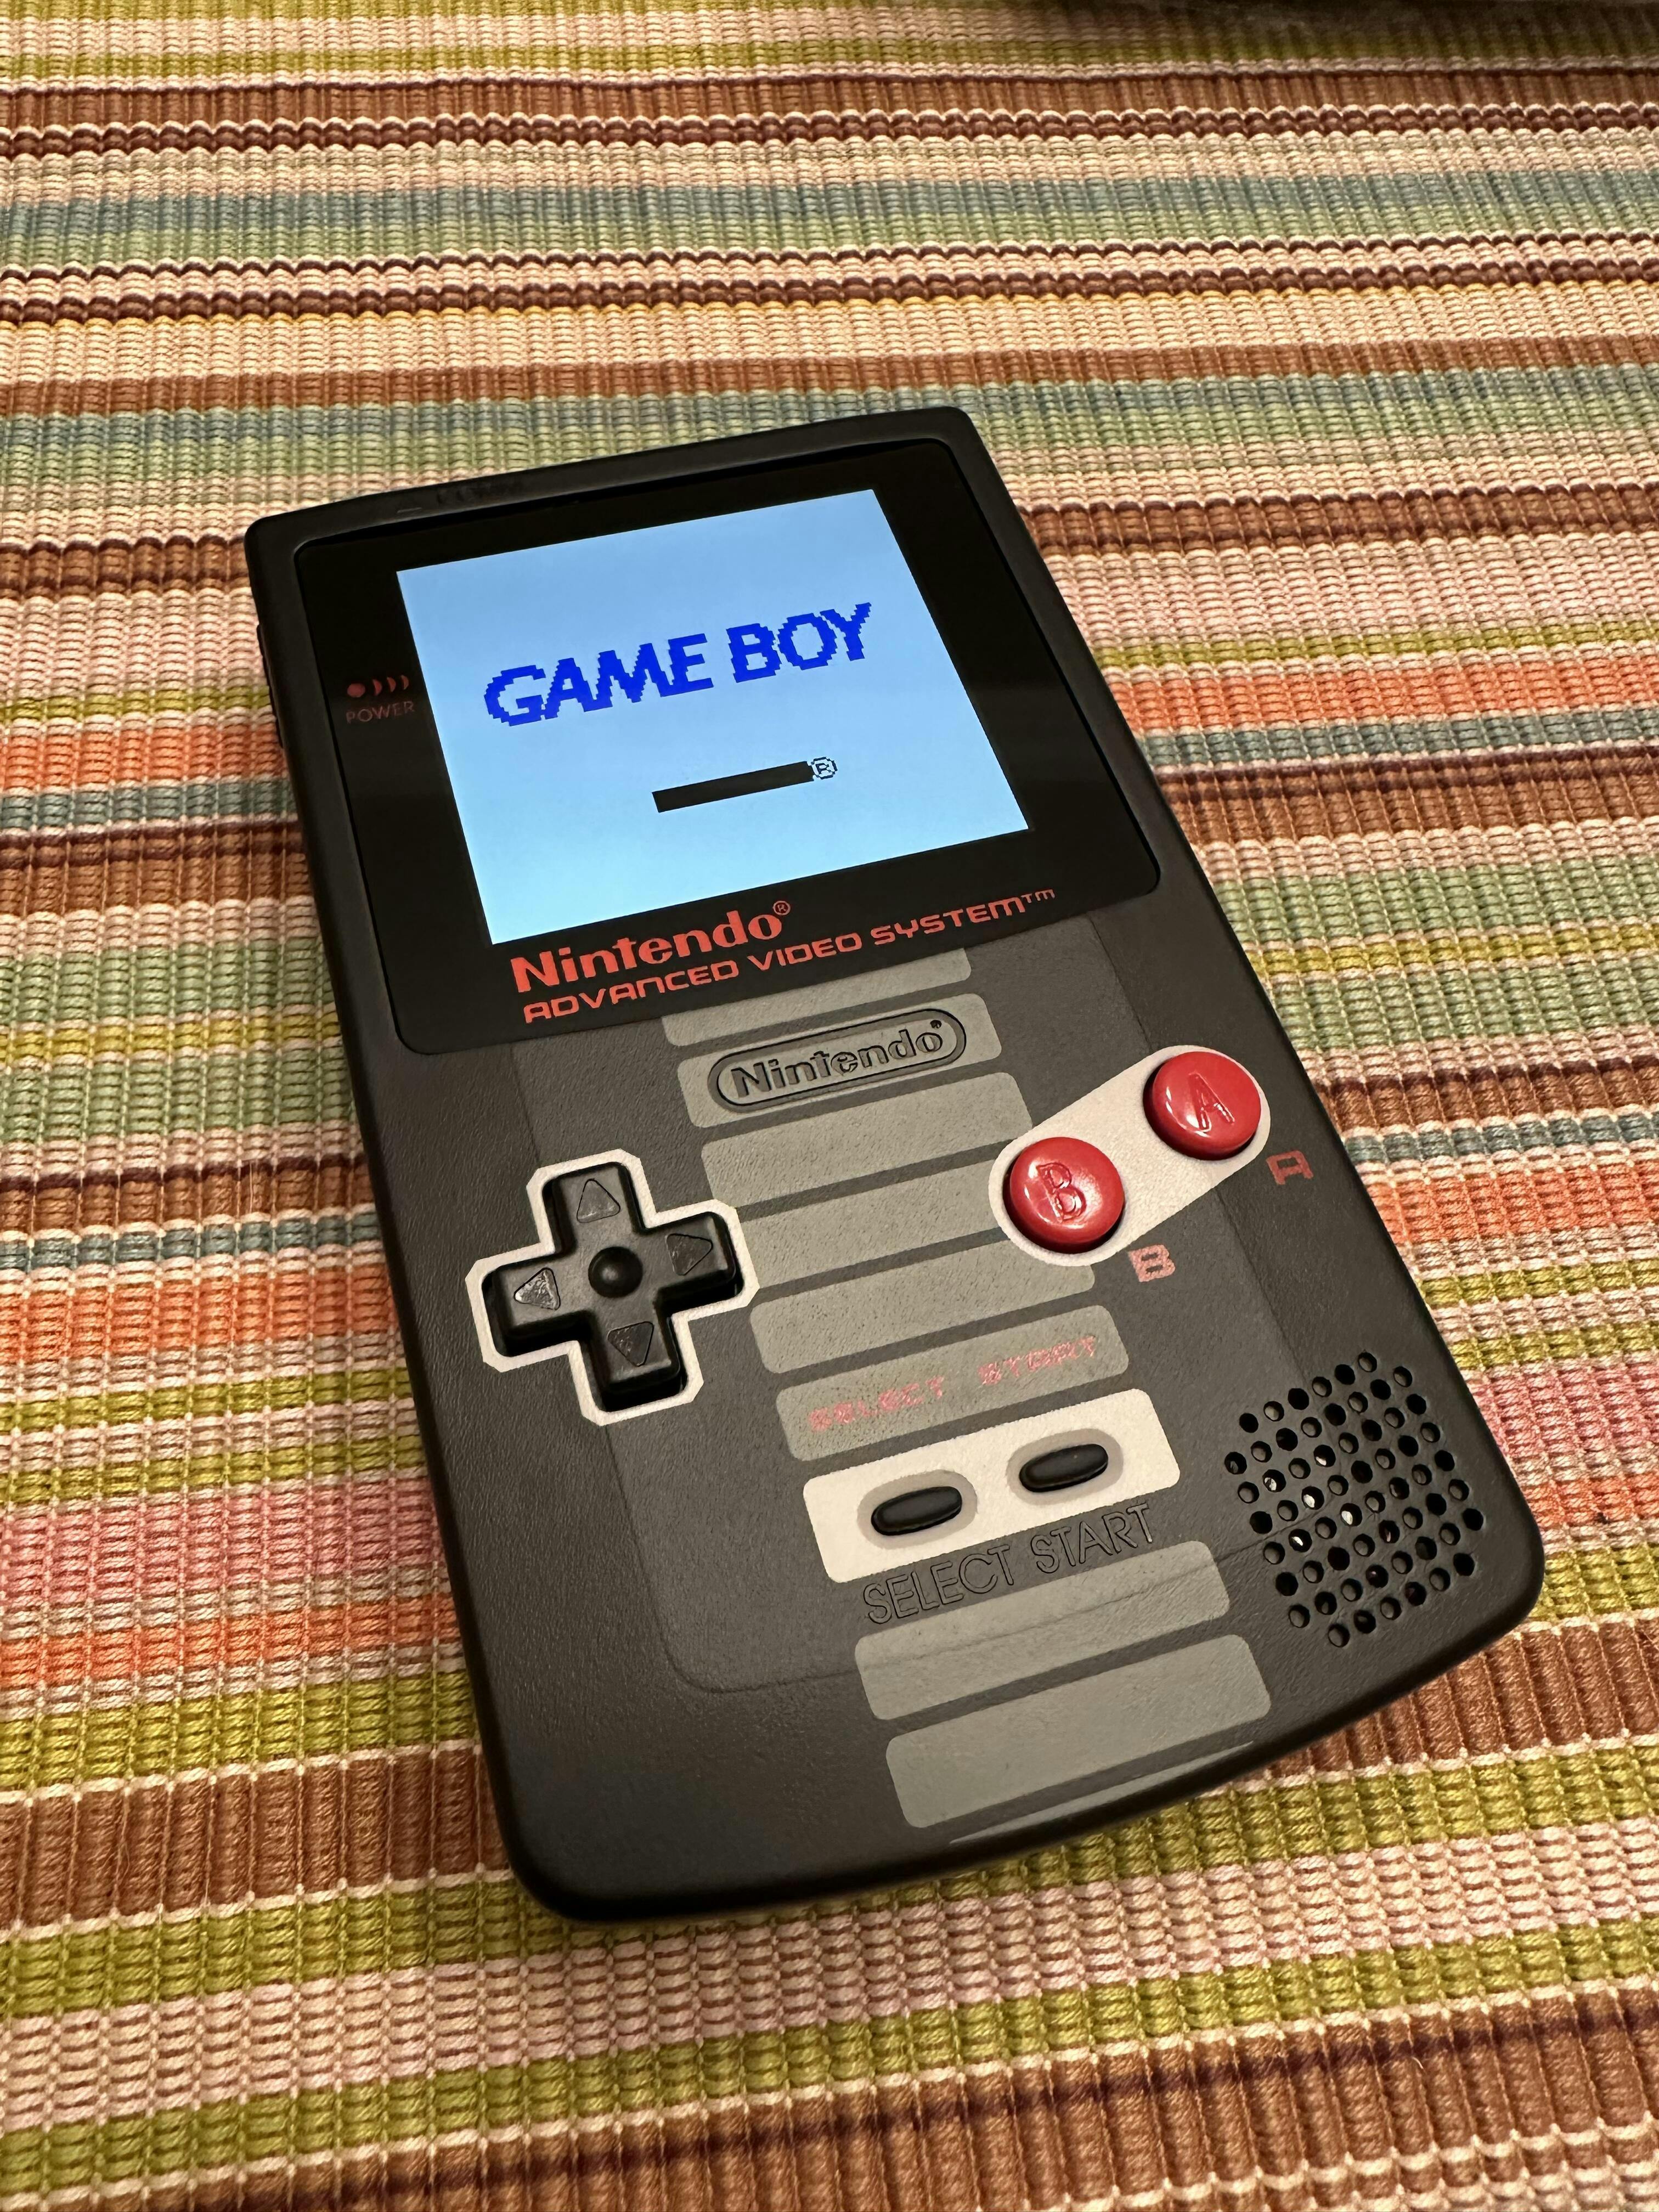
I love this mod! I had recently purchased the NES Q5 laminated GBC kit directly from FunnyPlaying, but unfortunately, received a v2.3 ribbon. Being I do not know how to solder, I was unable to get power to the LCD. I subsequently went to purchase the v2.7 kit from Retro Gaming Parts, and man, was it worth it! I was able to get the custom NES laminated display up and running without any soldering, and was able to complete my build! The kit arrived safely and quickly to the US from Australia! Was very happy with my purchase. I highly recommend buying the v2.7 kit, especially if you do not know how to soldier, as it is effectively a “drop-in” kit. It would be a nice option if FunnyPlaying shipped the NES laminated display with a v2.7 ribbon as standard. Maybe something that will happen in the future.